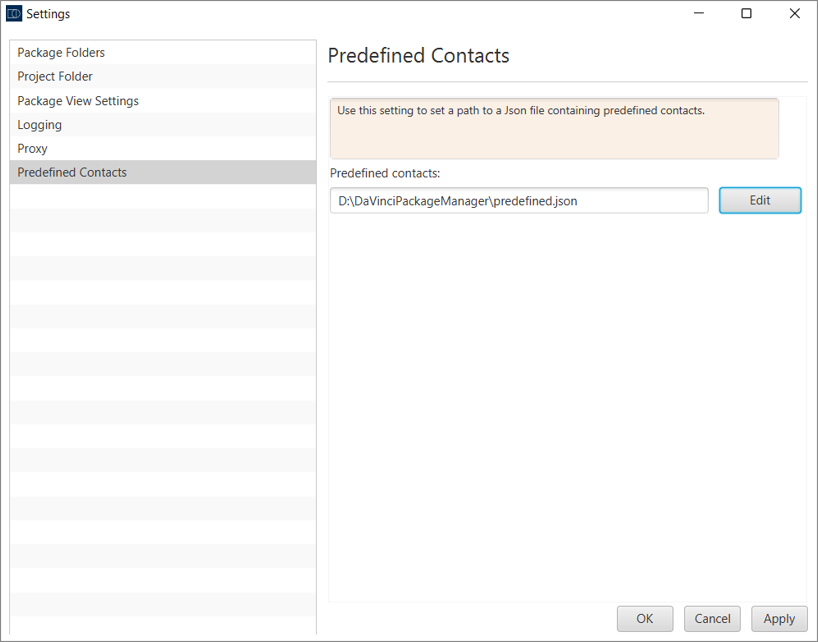
Use the Settings | Predefined Contacts window to use predefined contacts by adding and applying a Json file with contact information.
Example Code for Json File
The Json file must include at least the fields "version" and "contacts": [ ]. All other fields are optional. In the following example 2 contacts are defined:
{
"version": "1.0",
"contacts": [{
"id": "purchasingContact",
"name": "Name of the Contact",
"phone": "123 456",
"mail": "purchasingContact@predefined.now",
"company": "Company Name",
"street-address": "Street 1",
"city": "City",
"zip-code": "54321",
"country": "Germany"
},
{
"id": "technicalContact",
"name": "Name of the Contact",
"phone": "123 654",
"mail": "technicalContact@predefined.now",
"company": "Company Name",
"street-address": "Street 1",
"city": "City"
}]
}
Using the Predefined Contacts
After adding the predefined contacts, you can use them to automatically fill in the Purchasing Contacts and Technical Contacts of the following wizards:
- Project Creation Wizard
- Register Project Wizard
- Request Project Wizard
- Open the Purchasing Contacts or Technical Contacts tab of one of the above wizards.

Predefined contacts are identified by their defined ID.
- Enter the ID of the predefined contact in the Name text box. Initial letters are enough.
- A drop-down menu with the matching predefined contacts appears.
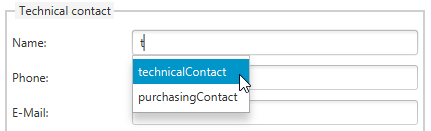
- Select a predefined contact.
- All predefined information is automatically filled in the contact form.